
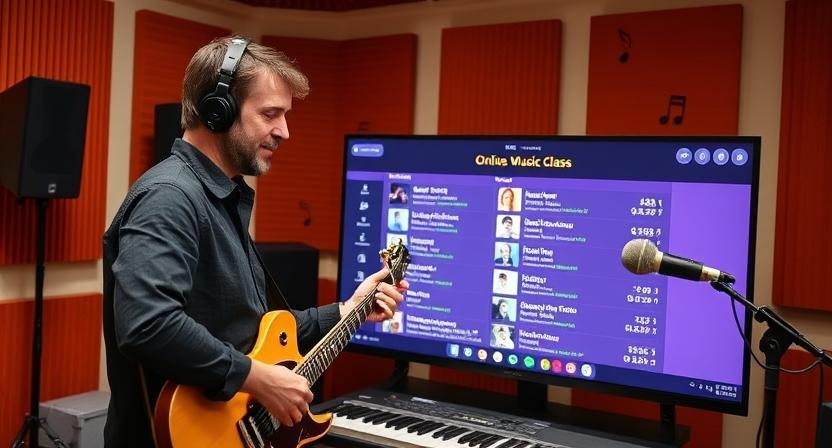
The world of music education is changing! More students now prefer Online Music Classes because it’s flexible, accessible, and convenient. If you run a music academy or teach independently, starting online classes can help you reach more students globally and increase your earnings.
But where do you start? How do you make sure your online classes are professional, engaging, and profitable?
Let’s break it down step by step, in the simplest way possible.

Step 1: Choose the Right Video Platform 🎥
To teach online, you need a video conferencing platform where students can see and hear you clearly.
Popular Choices:
- Zoom – Best for interactive classes, screen sharing, and recording lessons.
- Google Meet – Simple and easy to use, but has fewer advanced features.
- Microsoft Teams – Great for structured courses with multiple teachers.
- Skype – Good for one-on-one lessons, but not ideal for group classes.
Pro Tip: If you’re teaching many students at once, Zoom Pro is the best choice. It allows longer classes, breakout rooms, and HD recording.
Step 2: Set Up High-Quality Audio & Video 🎙️🎶
Sound quality is everything in a music class! If students can’t hear you properly, they won’t learn properly.
What You Need:
- USB Microphone – A good microphone will capture your voice and instrument sound clearly. Try Blue Yeti or Audio-Technica AT2020.
- Headphones – Use wired headphones to avoid delays in sound.
- HD Webcam – A good camera makes lessons more engaging.
- Proper Lighting – A well-lit room keeps students focused.
Pro Tip: Test your audio and video before every class to avoid technical issues!
Step 3: Create a Structured Lesson Plan 📚🎼
Teaching online is different from teaching in person. You need a well-organized lesson plan to keep students engaged.
How to Structure Online Lessons:
- Start with a warm-up – Simple vocal or finger exercises.
- Teach a new concept – Explain one topic at a time (e.g., chords, rhythm, techniques).
- Interactive practice – Ask students to play or sing during the lesson.
- Provide feedback – Correct mistakes immediately.
- End with a fun activity – Play a song, take a short quiz, or discuss music history.
Pro Tip: Keep your lessons short and interactive (30-45 minutes). Online students lose focus faster than in-person students!
Step 4: How to Record & Monetize Your Classes 💰🎥
Wouldn’t it be amazing if you could earn from your lessons even when you’re not teaching live? You can do that by recording and selling your classes!
Ways to Monetize Online Music Classes:
- Sell Recorded Lessons – Upload videos on Teachable, Udemy, or your website and charge a one-time fee.
- Offer Subscription Plans – Give access to a library of lessons for a monthly fee.
- YouTube Channel – Upload some free lessons and earn from ads & sponsorships.
- One-on-One Coaching – Charge extra for private lessons.
Pro Tip: Platforms like Thinkific and Kajabi help you build your own music course and sell it worldwide.
Step 5: Pricing Strategies for Online vs. In-Person Classes 💲🎵
Online classes save travel time and offer flexibility, but should they cost less than in-person classes? Not necessarily!
How to Price Your Online Classes:
- Group Lessons – $15-$30 per class (based on class size).
- Private Lessons – $30-$100 per session, depending on experience level.
- Pre-recorded Courses – $50-$300 for full access.
Pro Tip: Offer a FREE TRIAL class to attract more students!
Step 6: How to Handle Attendance & Student Progress Tracking 📊
When teaching online, it’s easy for students to miss classes or lose motivation. That’s why tracking their progress is important.
- Use Google Sheets to note attendance and progress.
- Give quizzes & assignments to test knowledge.
- Ask students to send practice recordings for feedback.
- Use learning management tools like Google Classroom.
Pro Tip: Send weekly progress reports to students and parents to keep them motivated!
Step 7: Promote Your Online Music Classes 📢🎶

You’ve set up everything, now it’s time to get students!
How to Market Your Online Music Classes:
- Create a website – A website makes your academy look professional.
- Use Social Media – Share lesson clips & student testimonials on Instagram, YouTube, and Facebook.
- Offer Free Webinars – A 30-minute free music workshop attracts new students.
- Collaborate with Influencers – Ask popular music YouTubers to promote your classes.
Pro Tip: Start a FREE Facebook group for students. It keeps them engaged and brings new enrolments.
Setting up online music classes is easier than you think. Once you have the right tools, a structured lesson plan, and a marketing strategy, your online academy will grow successfully.
🌍 The world is your stage. Teach beyond borders and build a global student base! 🌍
FAQs (Frequently Asked Questions)
1. How can I keep students engaged in online music classes?
Make lessons interactive! Use quizzes, challenges, live practice, and student performances to keep them involved.
2. What’s the best platform to sell recorded music lessons?
Platforms like Teachable, Udemy, Thinkific, and Kajabi allow you to sell pre-recorded music courses globally.
3. Should I charge more for online or in-person music classes?
Online lessons can be priced similarly to in-person lessons if you offer great content, structured lessons, and personal feedback.
Your Next Step?
Start setting up your online music classes today! Need help? Drop your questions in the comments below. 🎵✨
Also Read: Music is Beyond Performance: Inspire, Heal & Transform Lives!